
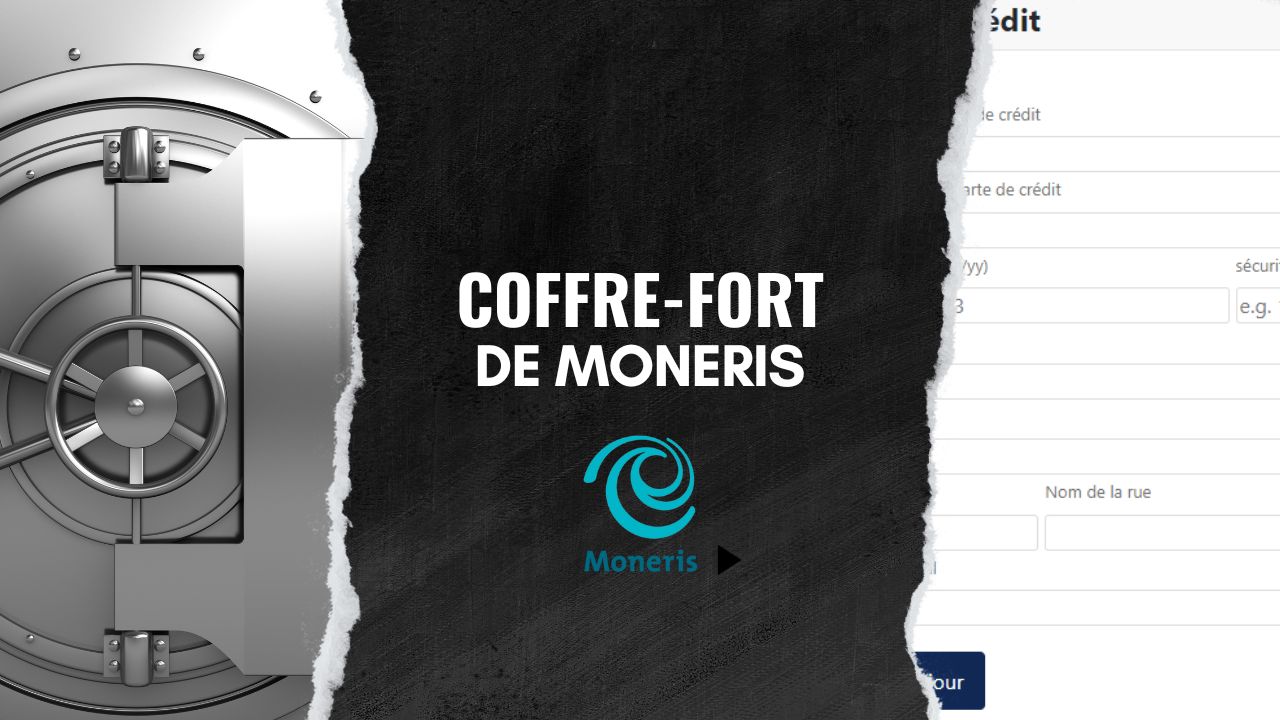
Moneris Vault for Joomla Module Installation and Configuration
We offer documentation for the Moneris Safe module for Joomla. A solution to offer a more secure experience to its customers. You can visit this page to find out more . Welcome to our detailed guide on installing and configuring the Joomla module dedicated to the Moneris Safe. In this article, we will see together how to use your module to improve your customer service. Follow these simple steps to integrate this secure feature into your Joomla website.
Step 1: Obtain a Copy of the Module
Currently in non-public version. However, you can contact us to find out more. Please note that the module will only be useful to you if you are a Moneris customer.
Step 2: Installing the Module
Once you have a copy of the module available in Zip version, below are the steps you need to follow to install it.
- Access the Joomla administration interface. (With administrator access.
- Navigate to System > Extensions > Extensions Manager (Under Install).
- Import the module as a ZIP file.
Once you have imported the module, you will see a confirmation message telling you that the module is successfully installed.
Step 3: Module Activation
After installing the Moneris Vault module for Joomla, you must activate it to be able to use it.
- In the admin menu, go to Content > Site Modules .
- Locate the module with the name mod_pswmonerisvault .
- Click the section checkbox to the left of the module.
- In the action options at the top of the page, click Publish .
In principle, the module will be published and you can continue with the configuration.
Step 4: Module Configuration
Once you are finalized with the activation of the module, you must follow the steps below to do the configuration.
- First, click on the module to configure it.
- Then, in the Module tab, select the desired position on the right. (Joomla gives you several options. You can, for example, add the module on the right side of the website or in the middle location).
- On the Assign to Menu tab, choose the page or pages to display the module. (In particular the page you created for the module)
- In the Moneris configuration tab, complete the Moneris API Key and Store ID fields.
- Choose the Moneris Usage Mode : Development for demo IDs, Production for production IDs.
Step 5: Testing and Adjustments of the Moneris Vault module for Joomla
- Once the configuration is complete, the form will appear on the selected page.
- Run tests to make sure everything is working properly.
- Note that the module is configured to be available only to logged in users.
We can make changes according to the customer’s requests.
Step 6: Contact us
We invite you to contact us to share your comments and suggestions, thus contributing to the continuous improvement of the module. Thank you for being part of our Moneris community on Joomla!

Gilblas Ngunte Possi
Founder and Full-Stack Developer at Prositeweb.
My proficiency with modern tools and a keen analytical sense regarding information technology enable me to provide superior guidance in the development and implementation of your web solutions.
