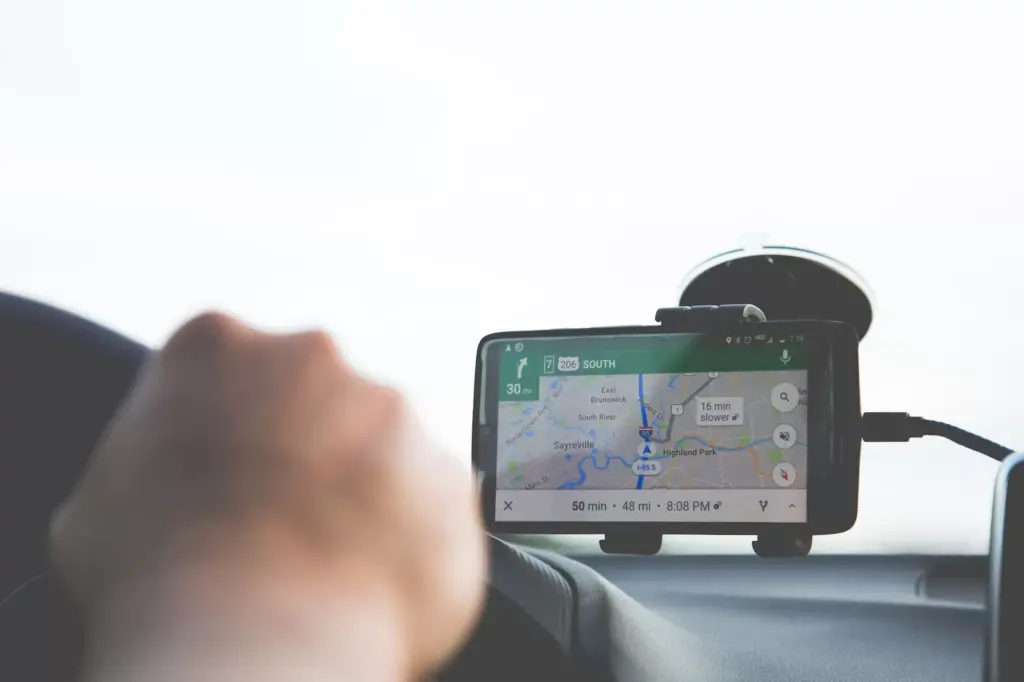
You can combine Google Map API and HTML 5 to calculate the distance between two points. Do you know how to use the Google Map API to retrieve a current usage location? If so, can you also draw a direction from a current user's location to another location? In case you would like to know how to achieve this, this small tutorial tends to help you achieve it. After reading this article, you will be able to create and obtain a Google API key. Also, you will understand how to use it in your project to bring latitude and longitude. I will provide you with the JavaScript code to acquire the user's current position and draw the direction.
1- Acquire the Google Map API key
To acquire the Google Map API key, you need a Gmail or G-Suite account. If you do not have an account, you can create one; it's free. Once you've created your Gmail or G-Suite account, follow these steps to get your API key:
- Visit https://console.cloud.google.com/ and sign in.
- The first time, you will need to activate your account and add a payment method.
- You can either click Activate or try it for free to get started.
- A form will appear where you provide some details about your business.
Note: The Google API is not a free service, but in my experience, unless you make too many API requests or calls, you may never have to pay for it. the service. You can read Google's terms and conditions for more information. 
Create a Google map API key
If you are successful in activating your account, you will then be granted access to the Google Cloud Platform Dashboard and then you will do the following:
- Click on the sandwich menu at the top left (to the left of the logo).
- A list will open this way, and you can click on APIs and services.
- At the top right of the logo, you will see a drop-down list.
- If you click on the drop-down list, a window will open and you can click on the "New project" button to create your project.
- Next, you will need to provide a project name, select a billing account and click "Create".
- After creating your new project, by default it does not contain any APIs, and you will need to click on the library to your left to add APIs.
- Finally, on the API library screen, you search for Google Map and enable APIs.
There are more than 18 APIs, but we only need the direction API, because we will use HTML 5 features to detect the current location. 
Get your API key for your project
After selecting the required API, you will need to:
- Click on “create keys”.
- Select the API key (the "create keys" action will generate an API key that you can use in the next step).
- Then select "restrict key" (to prevent someone from copying it and using it on their project).
- You can either restrict with IP or URL.
If your API is for mobile apps, there is an option to restrict Android or iOS apps. In the API Restriction option, you can either leave it unrestricted or restrict the key. The "Do not restrict" option will allow you, in some cases, to use the same API on different types of applications. The "Restriction" option only allows you to choose APIs for the type of application you are building. For example, in our case, we need the API keys for Google Map geocoding and direction. Therefore, in the "restrict key" option, we will select. 
2- Use the JavaScript below to get the current location and direction
Explanation of code:
Replace your API key in line of code 2. Line 27: Use a form to add destination location and usage (See: value="120 Rue Louise, Longueuil, QC J4J 2S9"). You can change the address as you wish. Lines 35 to 41: We get the current usage information — Latitude and longitude. We use the form id on line 27 to acquire the form value on line 73.
References :
- How to bring current location through Google Maps JavaScript API
- Google Maps Platform documentation .
Thank you for reading, you may also be interested in the article “Edit Add to Cart Button with Custom WooCommerce Single Product Page Link”.


